

Alright Ladies because everyone seemed to really like the Argyle Nails tutorial from a couple weeks ago I thought I would share another version of them. I Love the argyle design because they are great for all year round. Switch the colors up for the different holidays and you will have perfect festive nails.

Supplies:
- Base Coat
- Polish
- Acrylic Paint in whatever colors you choose. (I prefer the folkart brand)
- Nail art Brush (I purchased mine at Sallys)
- Stripe Rite Silver Glitter paint polish (also can be found at Sallys)
- Top Coat
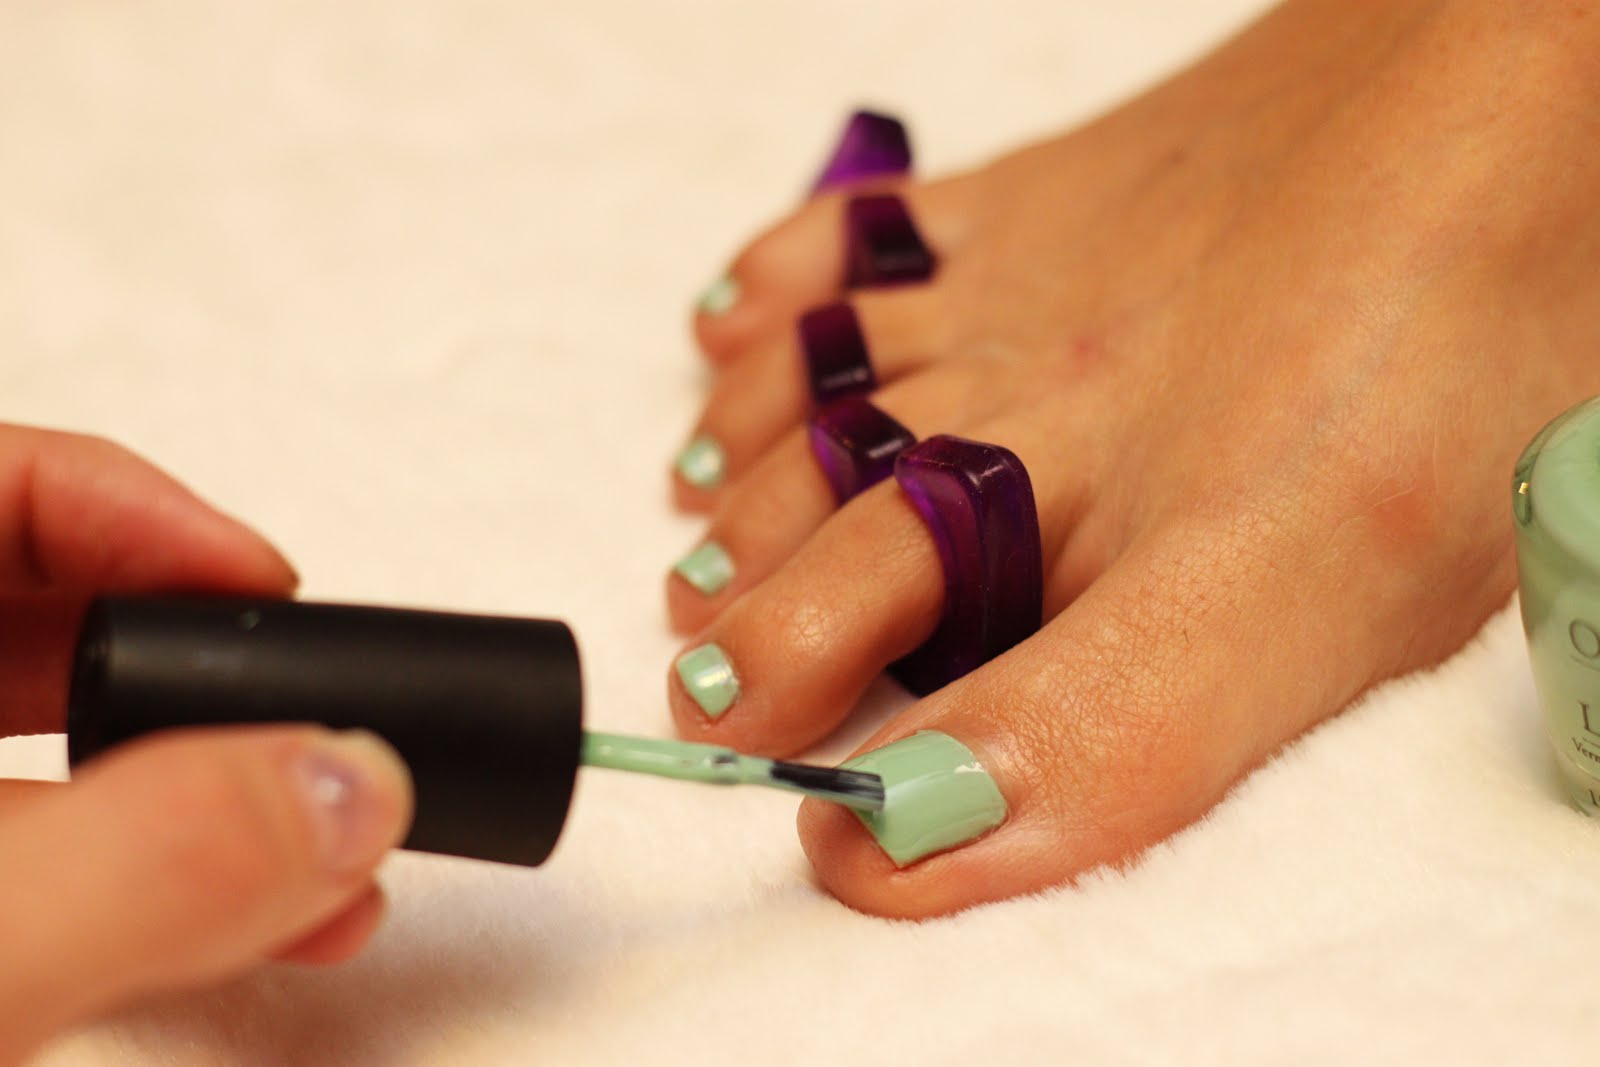 Start off by applying a base coat. I recommend using the Seche Vite base coat. Once that is dried apply at least 2 coats of your Polish. I used O.P.I Hey! Get in Lime. Let your Polish dry thoroughly.
 With your Acrylic Paint and your Nail Art Brush draw a half diamond starting from the upper corner, to the middle of your nail, and back down to the bottom corner.
 Repeat this same process on the other side.
 Repeat on your little toes. You can also just draw X's in your toes instead of the half diamonds. Whichever you find easiest.
 Fill in each of your half diamond shapes with your acrylic paint. Allow that to dry for several minutes.
 With your other color of Acrylic paint (in my case black) draw a thin half diamond shape, or sideways V starting from the top of the middle of your nail and ending in the middle of the bottom of your nail. Repeat on the other side.
 With Stripe Rite Silver Glitter paint polish draw and X through the middle of all your nails.
Let dry and finish with Seche Vite Top coat.
 If you were able to do the last argyle design this would should be a breeze for you! Have fun with your color combinations! Please let me know requests for any other nail tutorial you would like to see.


