Let me tell you something. I have been a little baby hungry lately. And making all of this cute baby stuff lately sure ISN'T helping it AT ALL. Any who, I made up these adorable blinged out binky's the other day and just had to share. They are perfect for baby shower gifts or for your own little one. I LOVE sparkles so whenever I have the chance to bling something out I do. And if your baby is going to use a binky why not let them use it in style?!
 Supplies-
Binky- I like using the avent brand since you can get them in all clear.
E-6000 glue
Tweezers
Flat back Swarvoski crystals-you can purchase these at Michaels, Joanns, or Hobby Lobby.
Piece of paper
 Take your E-6000 glue and put a big glop of it on your paper.
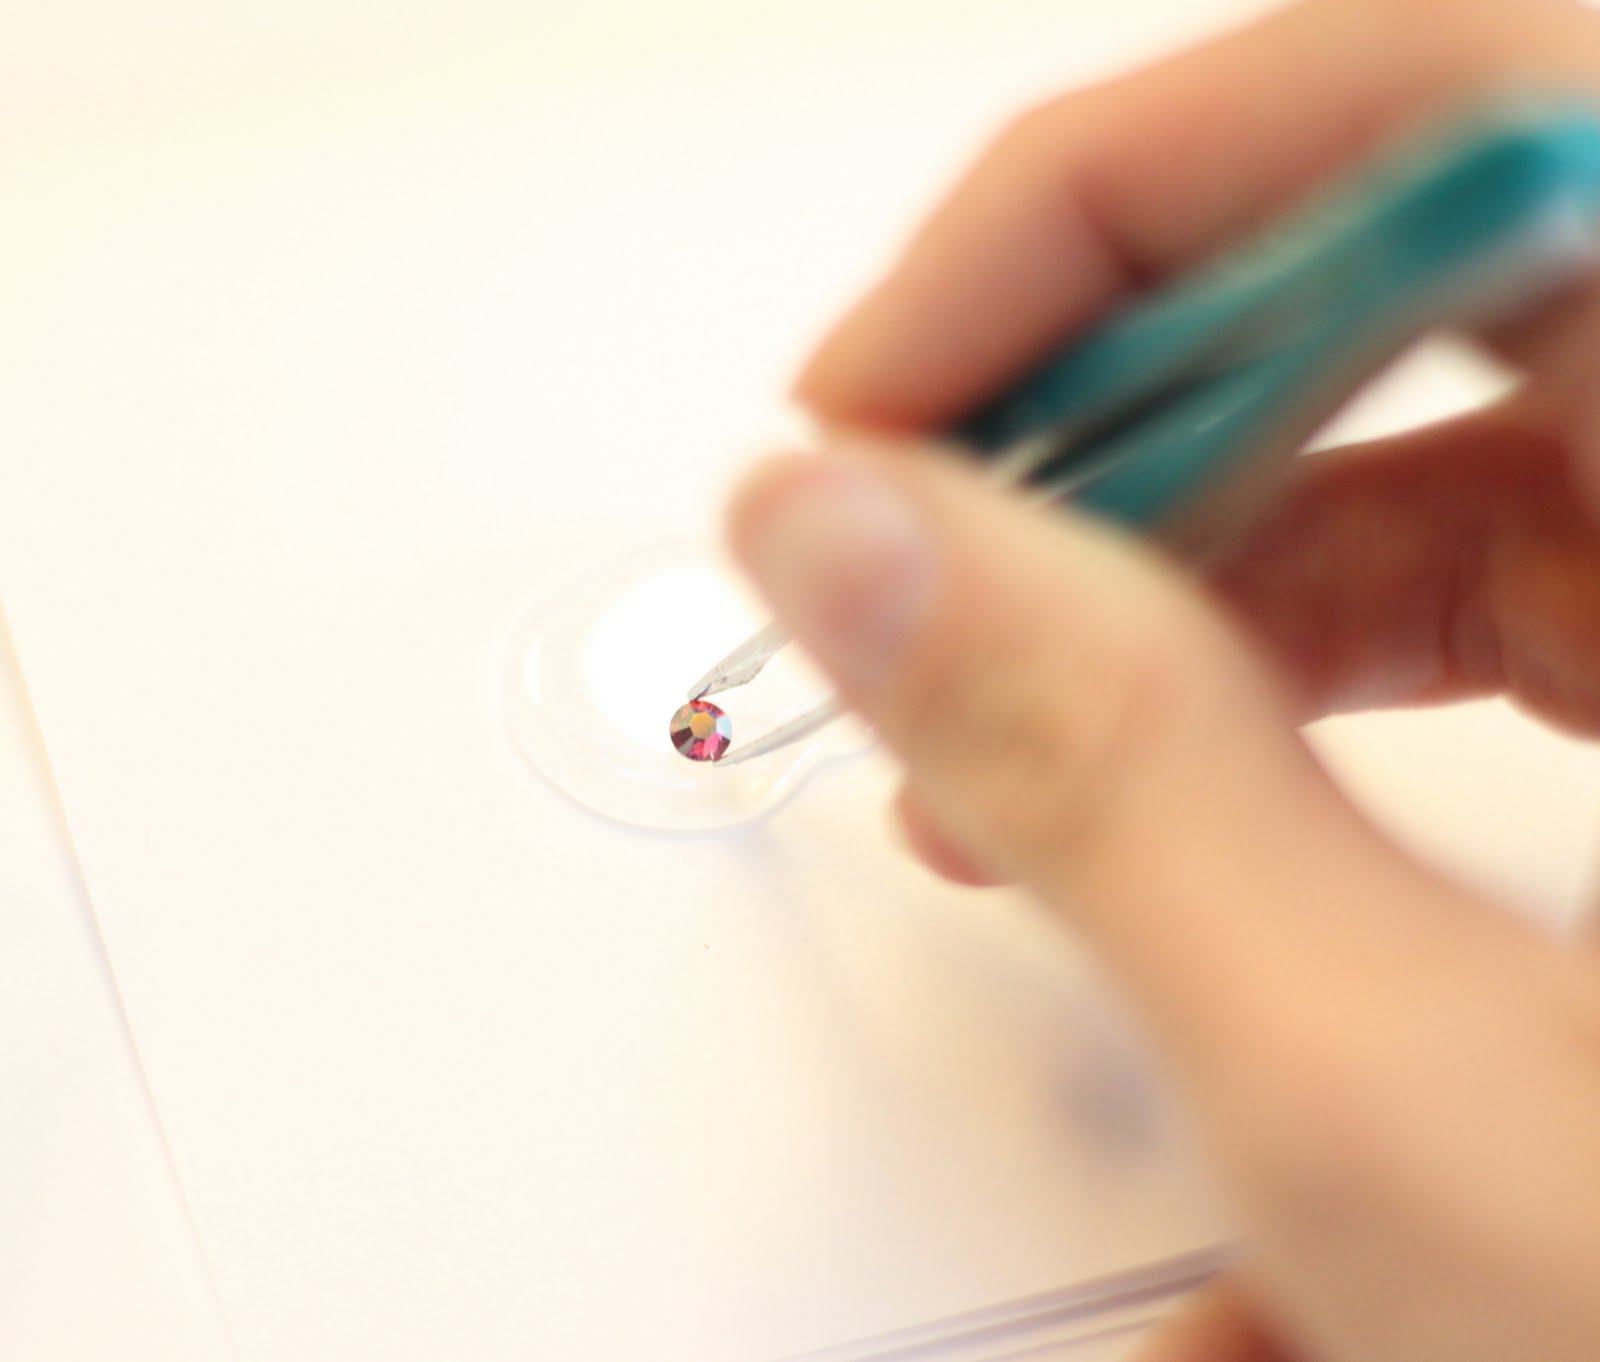 With your tweezers pick up a crystal and gently dip it in the glue being carful not to let it get stuck in the glue. Be sure to not get too much glue on the crystal because it will seep out the sides when you press down.
 Place your crystal in the middle of your binky and press down so its nice and secure.
 Follow the same process for the rest of the crystals. I like to work in rows to make sure that I can get a good even coverage of the crystals. When its finished be sure and let dry at least 24-48 hours before using. You girl is sure to be one stylin fashionista wearing one of these. And stay tuned for a swarvoski Binky clip! SO FUN!