Monday, August 29, 2011

Blinged Out Binky


Let me tell you something. I have been a little baby hungry lately. And making all of this cute baby stuff lately sure ISN'T helping it AT ALL. Any who, I made up these adorable blinged out binky's the other day and just had to share. They are perfect for baby shower gifts or for your own little one. I LOVE sparkles so whenever I have the chance to bling something out I do. And if your baby is going to use a binky why not let them use it in style?!
Supplies-
Binky- I like using the avent brand since you can get them in all clear.
E-6000 glue
Tweezers
Flat back Swarvoski crystals-you can purchase these at Michaels, Joanns, or Hobby Lobby.
Piece of paper
Take your E-6000 glue and put a big glop of it on your paper.
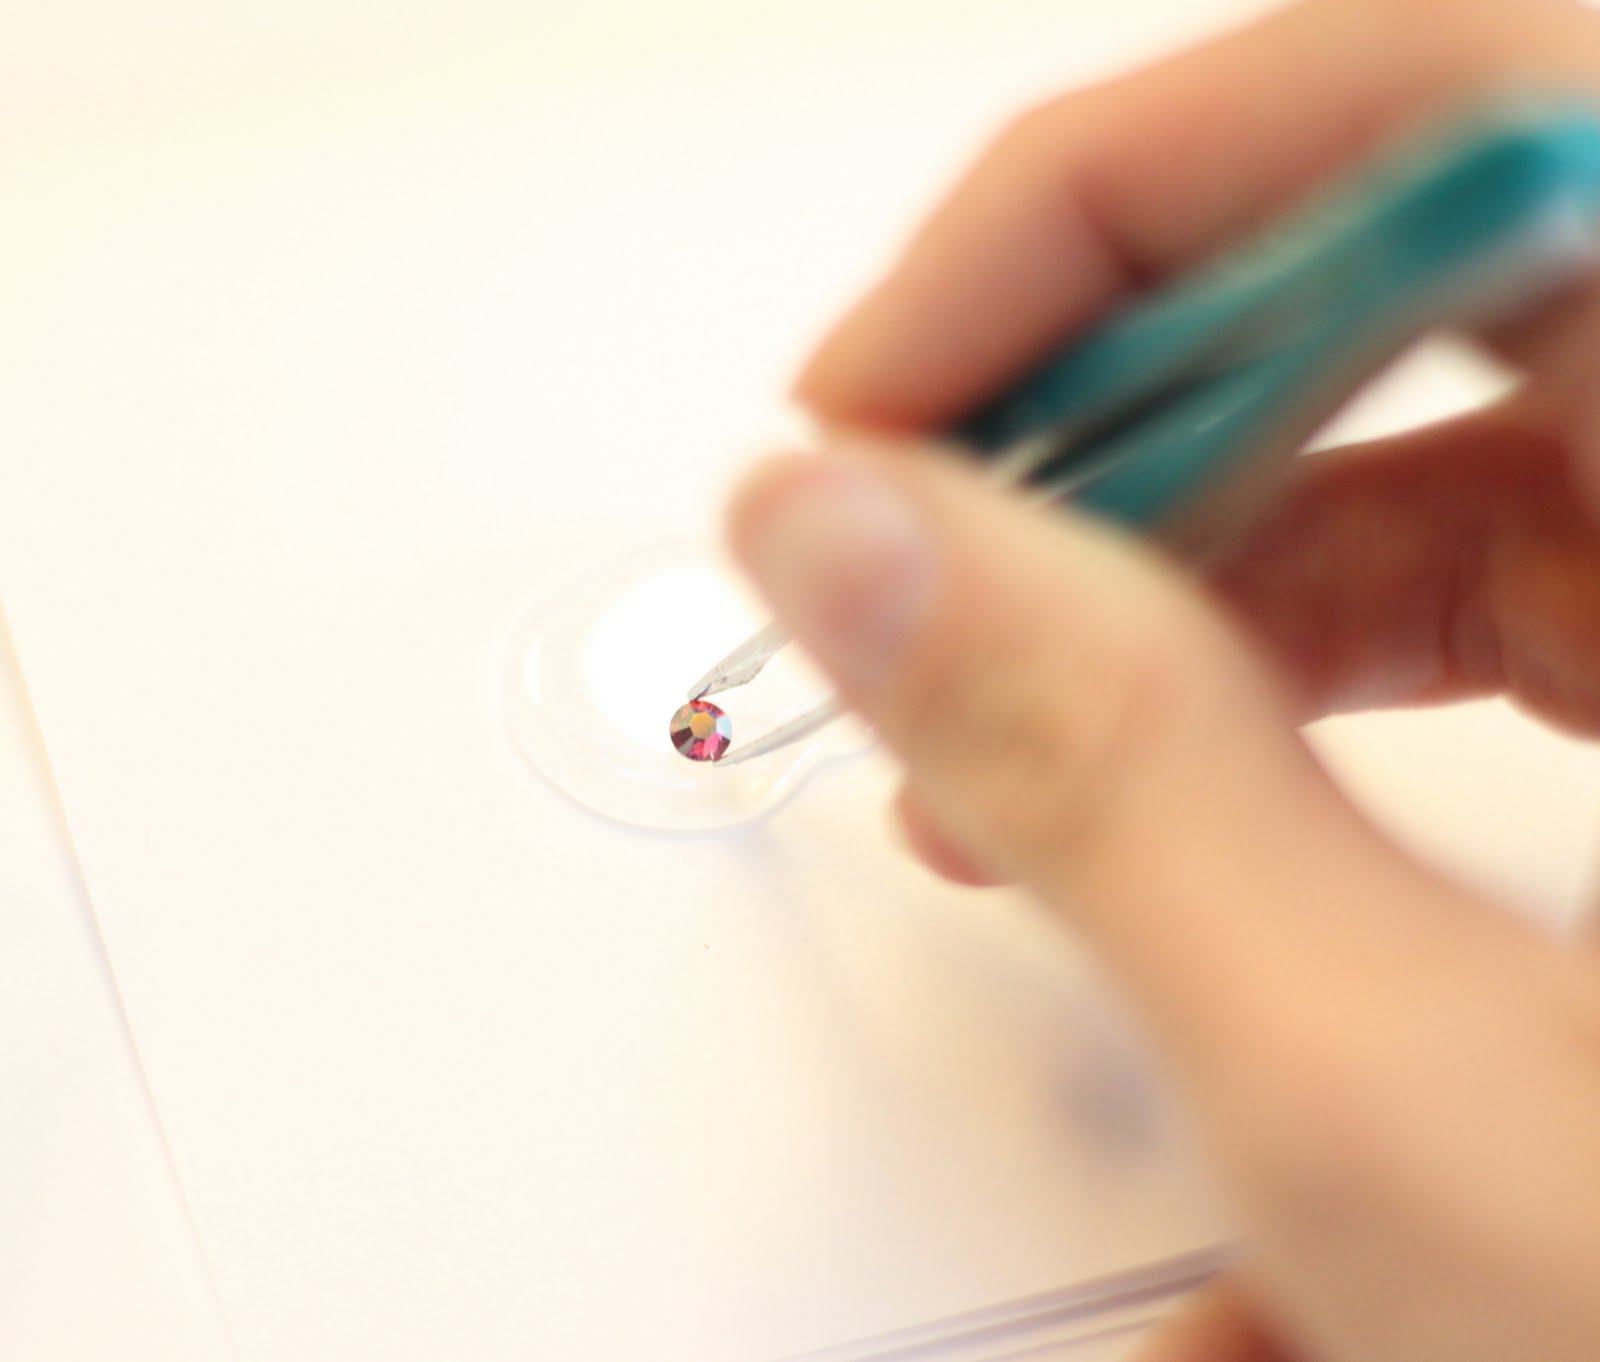
With your tweezers pick up a crystal and gently dip it in the glue being carful not to let it get stuck in the glue. Be sure to not get too much glue on the crystal because it will seep out the sides when you press down.
Place your crystal in the middle of your binky and press down so its nice and secure.
Follow the same process for the rest of the crystals. I like to work in rows to make sure that I can get a good even coverage of the crystals. When its finished be sure and let dry at least 24-48 hours before using. You girl is sure to be one stylin fashionista wearing one of these. And stay tuned for a swarvoski Binky clip! SO FUN!


Photobucket

Thursday, August 25, 2011

Down East Basics Blogger Event

Let me start off by saying I Love everything about DownEast basics! Dressing modest is something that is very important to me. One of the very best things about this store is that pretty much everything in there is modest. And on top of that it is all SO SUPER cute, comfy and affordable. It is perfect for girls and women of all ages. They carry a little girls line and let me tell you it is to die for! I definitely need to take my little girl down there to get some new clothes.

This past week I was able to attend my very first blogger event. DownEast Basics held a blogger night at their store for local Arizona bloggers. I was a bit nervous to go since I didn't know anyone there, but when you put a ton of girls in one room that all have common interest you are definitely going to find people to talk to. DownEast Basics was so kind to give each of us a little goodie bag which contained their catalog, some chocolate, and a gift card. It was a perfect night of talking with girls and shopping! What girl doesn't love to do that?!

DownEast Basics has just come out with their fall line, and let me tell you I was oohing and awing over almost everything I saw. I wish I could have purchased the entire store! They also have a few deals going on right now. All denim is buy one get on 50% off and select fashion tops and sweaters are 25% off. So hurry on down and take advantage of these deals and stock up on your new fall wardrobe so you will be one stylin fashionista this fall.

DownEast Basics is also having a giveaway for local AZ girls. Go down to any Phoenix Store to enter for a fall fashion makeover. The winner will receive a $250 dollar shopping spree. They will also be able to pick a school of their choice and DownEast Basics will donate $250 to them as well. Hurry down and enter. I know I did yesterday. The giveaway is open from 8/28-9/12.


All of us girls outside of DownEast Basics.
A few of us girls went out to the CheeseCake Factory after the blogging event. It was so nice to meet these girls and they were all so fun and sweet.
From left to right Jamie from Jamie Lynn Photography, Katie from Sweet Rose Studio, Steph from Somewhat Simple, Kristi and Kelli from Lolly Jane , Kristyn from My Lil' Luna, Jamielyn from I Heart Naptime, Me, and Kristy from The Diary of Dave's Wife. Be sure and go check out these other bloggers sites. They have such great stuff!

Photobucket

Wednesday, August 24, 2011

Flower Headbands

Oh boy, There is just something about little girls that have on cute little accessories that makes my heart smile. When my daughter was born she probably had a headband, and bracelet for every outfit til the day she wouldn't wear them anymore. That day made me sad. However I can't stop making the cute stuff. I always have to tell my husband that they make great baby shower gifts to justify my little shopping sprees at the ribbon store. A while back I was at a baby shower of my friends and she received the cutest little headband. The lady said she made it, so I thought to myself I should make one too! Ribbons and lace here in Mesa and Chandler, AZ is my best friend. They have elastic in every color and are now carrying all of these cute flower trims. I have also found them at Hobby Lobby and Joanns, and SAS.
Supplies-
Elastic
Hot glue gun
Scissors
button or decorative piece for the center

I made mine in order to fit a newborns head. I got 14 inches of elastic and 2 flowers from the ribbon roll. Don't you just love when they let you buy by the inch instead of by the yard.
You will want to put a big ol' fat glob of glue on one end of your elastic and fold the other end over on top so its overlapping a little bit.
Press down on it for a few seconds until it is pretty much dried.
Put another big glob of glue just to the side of the center and glue one flower on top. Leave a little gap and do the same on the other side.
Its really hard to see since its black on black but you will have the two flowers on top.
Get a button or gem of some sort to glue in the middle. This head band is so stinkin simple but SO cute! I had to see what it looked like on so my poor son had to model it for me. Now only if I had a little girl to wear these cute things.


Photobucket

Sunday, August 21, 2011

One of those days

Do you guys ever seem to have one of those days where nothing seems to go right? Let me tell ya, Saturday was just one of those days. My sister-in-law was having her baby shower and I offered to help out and bring a treat for it. She text me a few days before the shower saying she would love if I brought some cupcakes. I told her a few that I had been wanting to try out and we decided that Root beer float cupcakes would be good and go perfect with the color scheme of the shower. Saturday morning rolls around and i'm so excited to try this recipe. Rootbeer is my FAVORITE soda of all time. The recipe was VERY simple. 1 box white cake mix and 1 cup of your favorite rootbeer. Mix and fill liners 3/4 full. I followed the directions except I put more like 2 cups rootbeer. I could barely taste it with 1 cup. Half way through baking they looked fine then at the very end they were overflowing! I think it had something to do with the extra carbonation in the mix. So they were pretty much a disaster.

I figured since I said I would bring something I probably should. I had some Oreos and chocolate almond bark and decided that chocolate covered Oreos would be a good substitute. I mean what girl doesn't love chocolate and Oreos. I made them all up and they looked super good until I decided I wanted to put a letter J on top of each one in blue chocolate. I am a perfectionist and when they didn't turn out exactly how I wanted I didn't want to bring those either, but only had an hour before the shower now and had no time to prepare anything else. I decided to bring them anyways. I headed out the the car only to find out the battery was dead and the car wouldn't start. I took our old, little civic that has barely any working air. Lets just say with the 110 degree weather we have here in good ol' Arizona my chocolate covered oreos didn't make it more than 5 minutes in the car without melting. I seriously wanted to cry. Good thing I passed a Safeway on the way to the shower and was able to pick up a delicious coconut creme pie. Mmm SOOO good.
So the lesson I learned from my disastrous Saturday is always make treats a day in advance in case of mess ups, AND shopping always make a bad day turn right back around. I may or may not have come home with new fabric for some projects and 4 new shirts! ; )
Hopefully you guys had a wonderful weekend and got some good ol' crafting done!
Photobucket

Argyle Nails 2


Alright Ladies because everyone seemed to really like the Argyle Nails tutorial from a couple weeks ago I thought I would share another version of them. I Love the argyle design because they are great for all year round. Switch the colors up for the different holidays and you will have perfect festive nails.


Supplies:
  • Base Coat
  • Polish
  • Acrylic Paint in whatever colors you choose. (I prefer the folkart brand)
  • Nail art Brush (I purchased mine at Sallys)
  • Stripe Rite Silver Glitter paint polish (also can be found at Sallys)
  • Top Coat

Start off by applying a base coat. I recommend using the Seche Vite base coat. Once that is dried apply at least 2 coats of your Polish. I used O.P.I Hey! Get in Lime. Let your Polish dry thoroughly.
With your Acrylic Paint and your Nail Art Brush draw a half diamond starting from the upper corner, to the middle of your nail, and back down to the bottom corner.
Repeat this same process on the other side.
Repeat on your little toes. You can also just draw X's in your toes instead of the half diamonds. Whichever you find easiest.
Fill in each of your half diamond shapes with your acrylic paint. Allow that to dry for several minutes.
With your other color of Acrylic paint (in my case black) draw a thin half diamond shape, or sideways V starting from the top of the middle of your nail and ending in the middle of the bottom of your nail. Repeat on the other side.
With Stripe Rite Silver Glitter paint polish draw and X through the middle of all your nails.
Let dry and finish with Seche Vite Top coat.
If you were able to do the last argyle design this would should be a breeze for you! Have fun with your color combinations! Please let me know requests for any other nail tutorial you would like to see.
Photobucket